
November 10, 2020
Adding A New Menu Item
Adding a new menu item and menu file maintence is one of the easiest things to do within Focus POS. If you have any questions or need assistance, please do not hesitate to call our office at 505-293-7551.
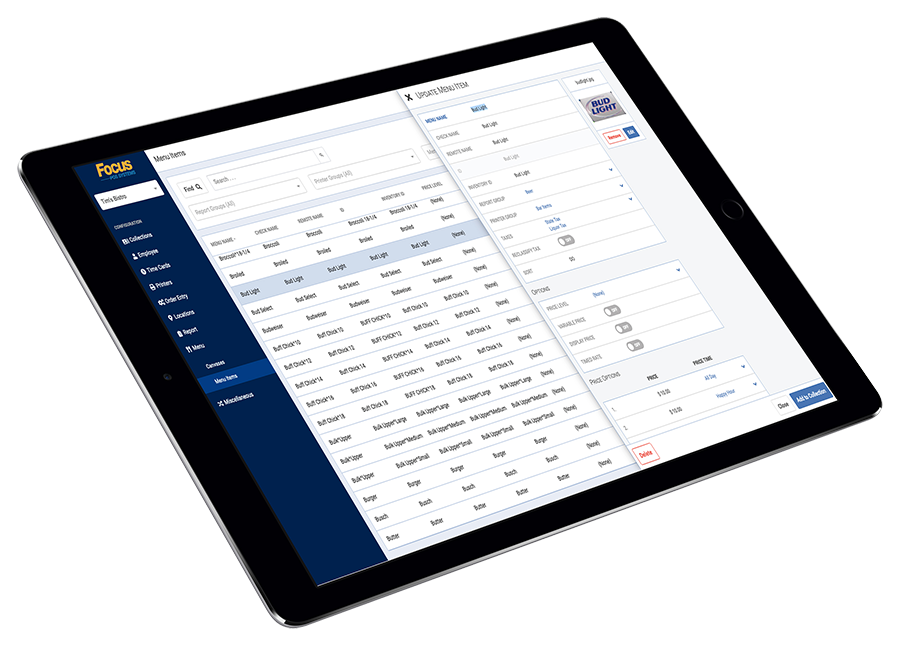
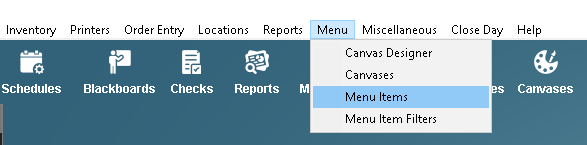
To add a menu item, head to the Backoffice section of the Focus POS. On the top tool bar, press Menu > Menu Items.
The 1-7 sections to adding a menu item will walk you through adding your new menu item.
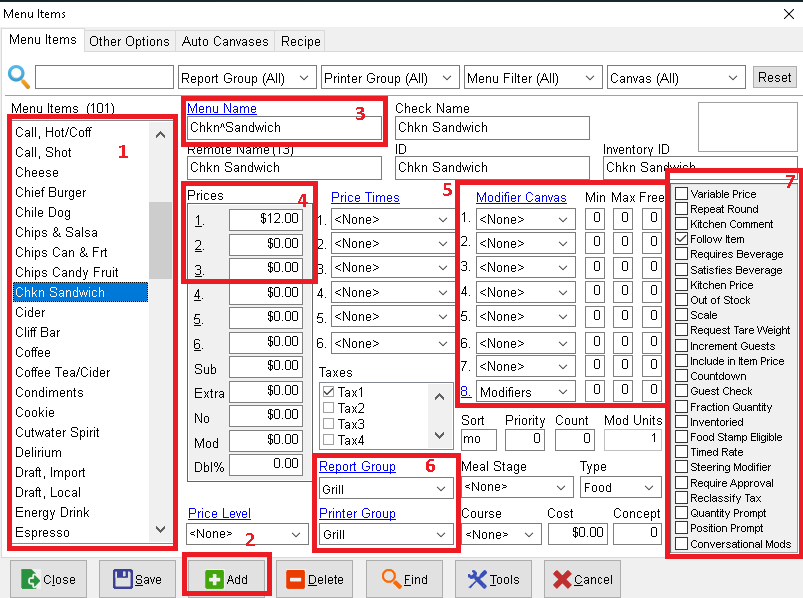
- Find a menu item similar to the one you’re planning adding.
When you highlight a menu item, the added item will inherit ALL programming except Menu Name. - After highlighting the item, press ADD.
- Menu Name will be blank. Fill in the menu name and press tab to automatically fill all Name fields. *Name fields can be unique to every destination they represent*
- If;
Menu Item – Fill in Price #1.
Modifier – Fill in Price Mod. - Attach any modifier canvases onto the item if required. The modifiers will be inherited from the item first selected. (Example: Highlighting a burger will give you Meat Temp / Add-Ons)
- Check item is in the correct Report Group and Printer Group (Printer Destination)
- Select or deselect any options the menu item requires.
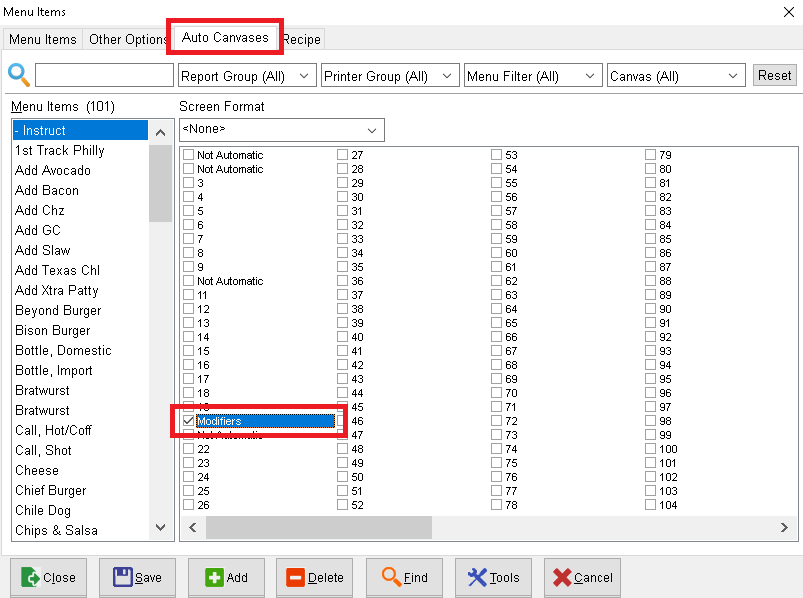
Last step is to assign the menu item a destination. For an automatic canvas, select AUTO CANVAS on the top bar and check mark which canvas the menu item belongs. For a manual canvas, go into CANVASES in the main back office section.
Once completed, press SAVE.
For more in depth information, please refer to the Focus POS manual.